ING Digital Bank Check Deposit Experience and Step by Step Guide with Photos
Ever since ING Digital Bank was officially launched in the Philippines last May 2019, many of you have been asking how to deposit money to an account in that financial institution since its concept is relatively new for many of us Filipinos.
Well, there are two easy ways that you can deposit money to an ING Digital Bank saving account. One is through fund transfer from select banks via PesoNet, which is an initiative that's supported by Banko Sentral ng Pilipinas, and the other is through Check Deposit. Both methods are very simple and convenient to do.
In this post, I'll share with my experience in depositing a check to my newly activated ING Saving Account just to give you an idea on how it works.
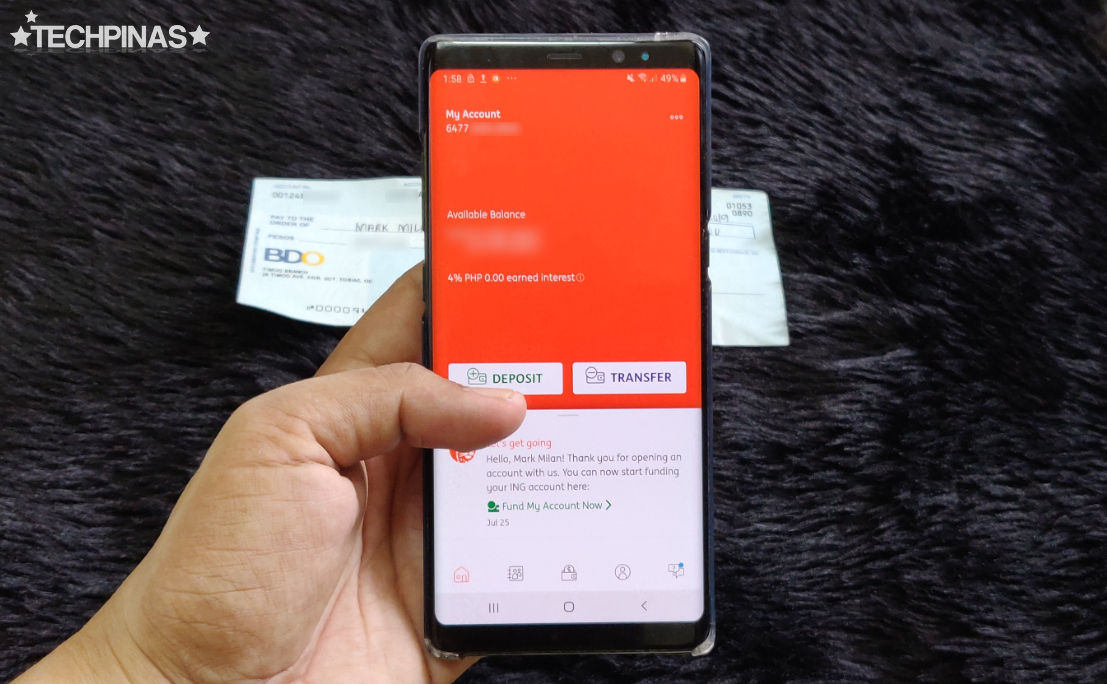
Since ING Digital Bank doesn't have any physical branch, all transactions are done digitally or through the very secure mobile application for both Apple iPhone and Android smartphones.
This is amazing because you won't have to drive to the bank and line up just to deposit a cheque. Not only is it convenient but also saves you time, money, and energy.

To deposit a check, simply log-in to your fully verified ING Digital Bank account using your unique password and click on the large and instantly noticeable deposit button.
Take note, though, that cheque deposits can only be done on Banking Days from 1:00 AM to 3:30 PM. This feature will be inactive otherwise.

After clicking on the button, the app will give you a few reminders:
1. The check must be issued in your name (or the name that you also used to sign up for an ING Digital Bank account).
2. The amount on the check should be below PHP 500,000.
3. The date on the check should not be older than 180 days or around 6 months.
4. Always write the following at the back of the check:
- Your ING Account number
- Date of deposit
- Signature
- ING Bank Name

Once you've done all that, you can move forward by clicking on the white button. I wish ING would add "NEXT" to that button, though, because from my experience, it's just a blank.
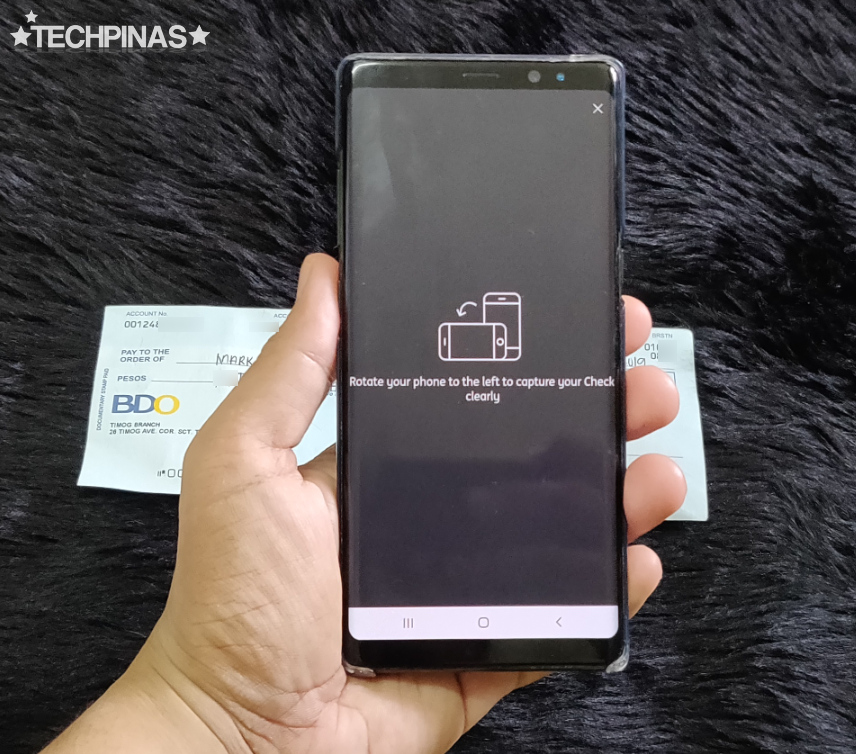
Then, the app will prompt you to take photos of the back and front of the check.

This part of the process is quite tricky because you have to make sure that the photos of the check are crystal clear.
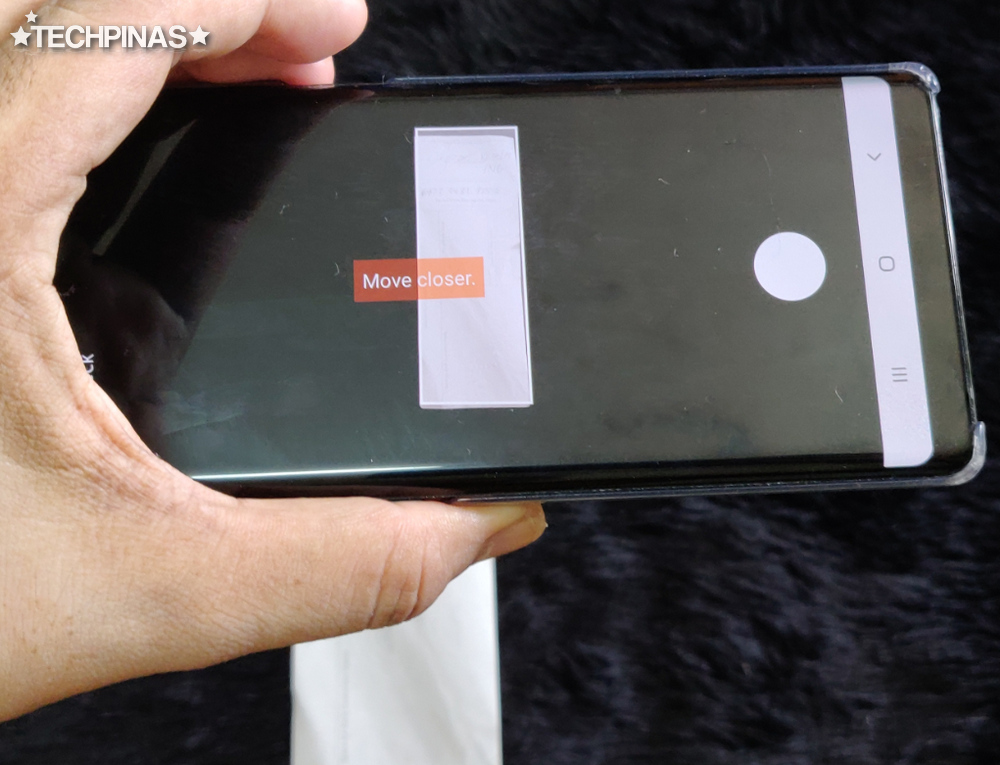
A box will pop out which will guide you on how to position your cameraphone to take a better image of the check. You have to include the entire check in each photo with no folds or improper cropping.
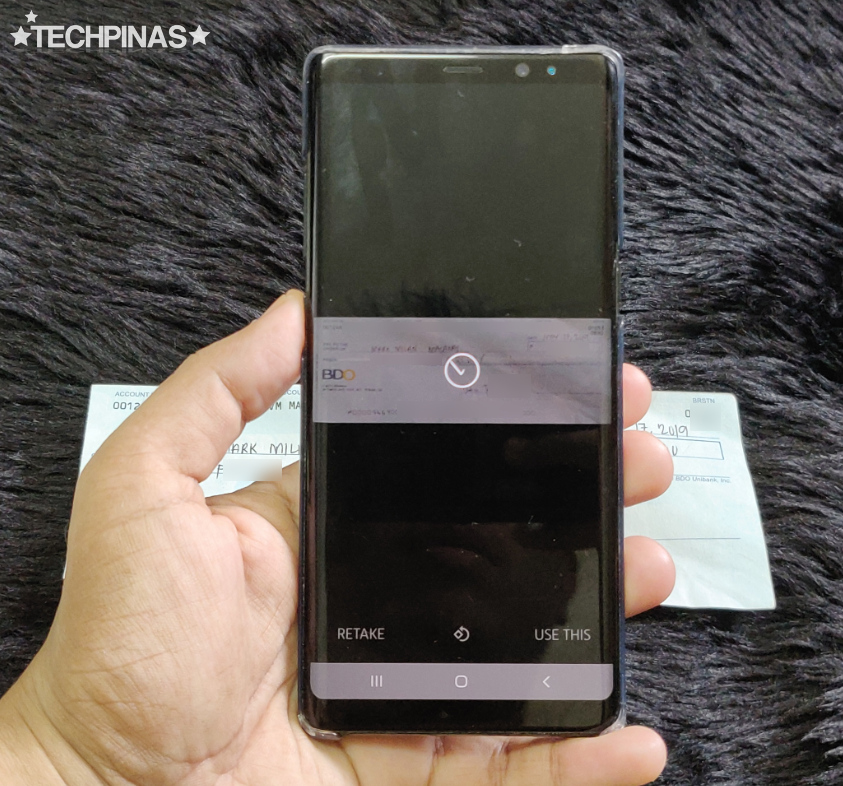
Needless to say, before taking a photo of the back of the check, make sure that you have placed your signature on it and that you have written your account number, "ING" bank name, and the current date.
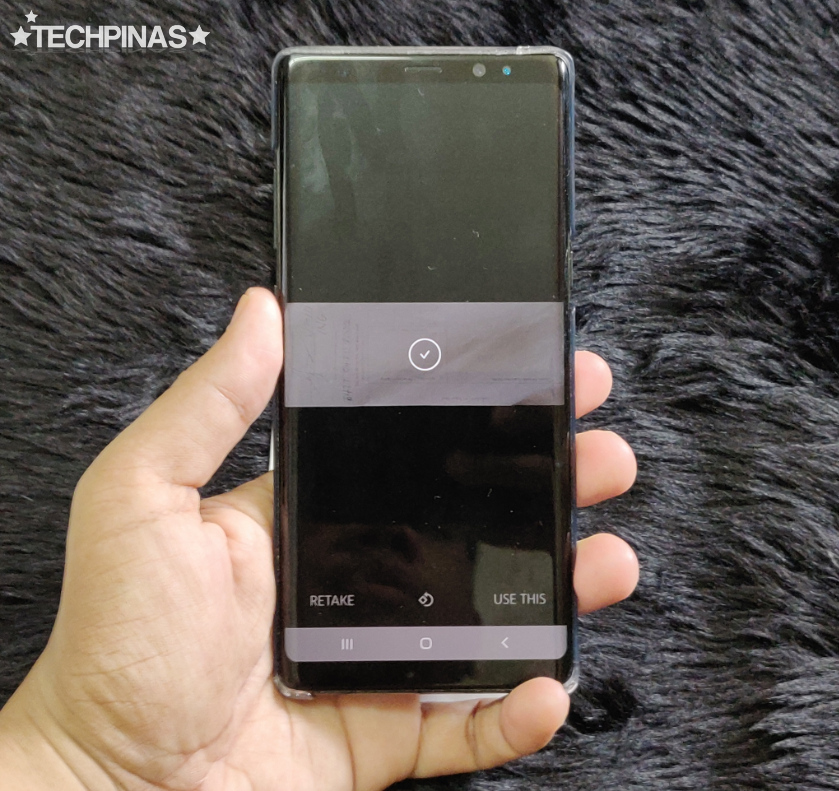
Click on "Use This" on both photos if you think they are clear enough for the app and ING support team to inspect and verify.

If your photos are good enough, the app should be able to automatically get the Check Number as well as the Check Account Number. Double check the details.

After which, simply type the Check Account Name (the person or business that issued the check to you) and choose the Bank where the check came from. Then, click the orange button. Again, I wish it had "NEXT" inside it.

Next, you'd have to add the date when the check was written and click on "Confirm" button to wrap up! That's it!
Sadly, though, the first time I completed the entire check deposit process, something went wrong and ING couldn't process the transaction. Maybe too many account holders were depositing checks at that time. I'm not sure.
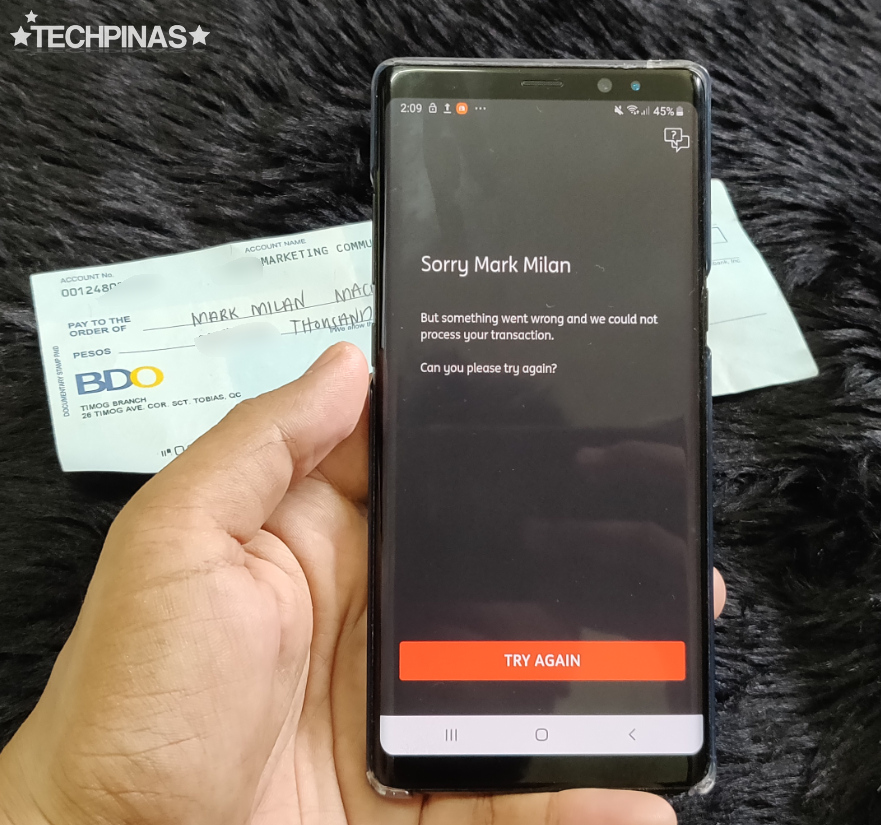
So I tried it all over again and thankfully, my check deposit got through. I knew it was successful because I got this message from the app, "Your check deposit is being processed". There was no guessing game, which I like.

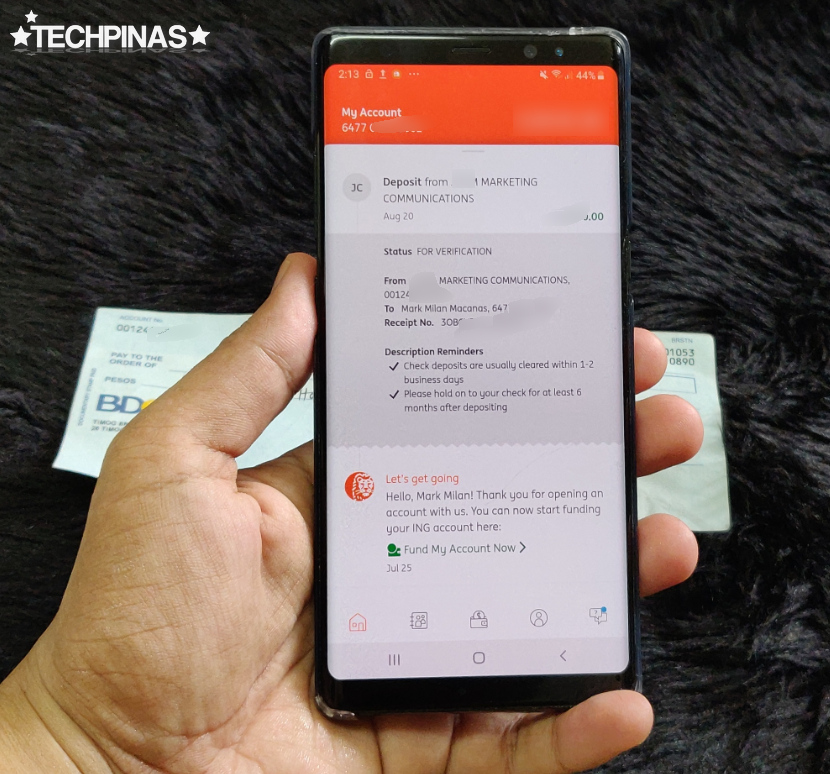
After that, I checked my account details and I saw this notification from ING, containing information of my new check deposit. It also included reminders, including "Check deposits are usually cleared within 1 to 2 business days" and "Please hold on to your check for at least 6 months after depositing."
Although my ING Digital Bank Saving Account check deposit experience wasn't particularly flawless or perfect, it's definitely far more convenient and easy than my experience depositing a check to a traditional bank. I mean, I didn't have to drive to a physical branch and to stay in queue before I could transact with a teller. It's night and day.

Oh, and good thing I made this check deposit within August 2019 because once the check has been verified the amount will be subject to ING Digital Bank's high 4% interest per annum, which is currently one of the highest from any bank here in the Philippines!
If you don't have an ING Digital Bank Saving Account yet, I suggest that you open one if you're keen on enjoying that high interest rate. Opening an account is 100% free. Simply download the app and register using a valid ID. There's no maintaining balance required and as I've said, all transactions are done digitally.
Well, there are two easy ways that you can deposit money to an ING Digital Bank saving account. One is through fund transfer from select banks via PesoNet, which is an initiative that's supported by Banko Sentral ng Pilipinas, and the other is through Check Deposit. Both methods are very simple and convenient to do.
In this post, I'll share with my experience in depositing a check to my newly activated ING Saving Account just to give you an idea on how it works.

Since ING Digital Bank doesn't have any physical branch, all transactions are done digitally or through the very secure mobile application for both Apple iPhone and Android smartphones.
This is amazing because you won't have to drive to the bank and line up just to deposit a cheque. Not only is it convenient but also saves you time, money, and energy.

To deposit a check, simply log-in to your fully verified ING Digital Bank account using your unique password and click on the large and instantly noticeable deposit button.
Take note, though, that cheque deposits can only be done on Banking Days from 1:00 AM to 3:30 PM. This feature will be inactive otherwise.

After clicking on the button, the app will give you a few reminders:
1. The check must be issued in your name (or the name that you also used to sign up for an ING Digital Bank account).
2. The amount on the check should be below PHP 500,000.
3. The date on the check should not be older than 180 days or around 6 months.
4. Always write the following at the back of the check:
- Your ING Account number
- Date of deposit
- Signature
- ING Bank Name

Once you've done all that, you can move forward by clicking on the white button. I wish ING would add "NEXT" to that button, though, because from my experience, it's just a blank.

Then, the app will prompt you to take photos of the back and front of the check.

This part of the process is quite tricky because you have to make sure that the photos of the check are crystal clear.

A box will pop out which will guide you on how to position your cameraphone to take a better image of the check. You have to include the entire check in each photo with no folds or improper cropping.

Needless to say, before taking a photo of the back of the check, make sure that you have placed your signature on it and that you have written your account number, "ING" bank name, and the current date.

Click on "Use This" on both photos if you think they are clear enough for the app and ING support team to inspect and verify.

If your photos are good enough, the app should be able to automatically get the Check Number as well as the Check Account Number. Double check the details.

After which, simply type the Check Account Name (the person or business that issued the check to you) and choose the Bank where the check came from. Then, click the orange button. Again, I wish it had "NEXT" inside it.

Next, you'd have to add the date when the check was written and click on "Confirm" button to wrap up! That's it!
Sadly, though, the first time I completed the entire check deposit process, something went wrong and ING couldn't process the transaction. Maybe too many account holders were depositing checks at that time. I'm not sure.

So I tried it all over again and thankfully, my check deposit got through. I knew it was successful because I got this message from the app, "Your check deposit is being processed". There was no guessing game, which I like.

After that, I checked my account details and I saw this notification from ING, containing information of my new check deposit. It also included reminders, including "Check deposits are usually cleared within 1 to 2 business days" and "Please hold on to your check for at least 6 months after depositing."

Although my ING Digital Bank Saving Account check deposit experience wasn't particularly flawless or perfect, it's definitely far more convenient and easy than my experience depositing a check to a traditional bank. I mean, I didn't have to drive to a physical branch and to stay in queue before I could transact with a teller. It's night and day.

Oh, and good thing I made this check deposit within August 2019 because once the check has been verified the amount will be subject to ING Digital Bank's high 4% interest per annum, which is currently one of the highest from any bank here in the Philippines!
If you don't have an ING Digital Bank Saving Account yet, I suggest that you open one if you're keen on enjoying that high interest rate. Opening an account is 100% free. Simply download the app and register using a valid ID. There's no maintaining balance required and as I've said, all transactions are done digitally.

